1946 Chevy Truck Fuel Tank Guide: Types, Installation & Upgrades
If you’re restoring or modifying a classic 1946 Chevy truck, one of the most critical components you’ll address is the fuel tank. The original design, with its cabin-mounted tank, presents significant safety concerns by today’s standards. This comprehensive guide dives deep into everything you need to know about 1946 Chevy truck fuel tank options, from faithful restorations to modern upgrades that enhance safety and performance. We’ll cover the different types available, provide a step-by-step installation guide, and explore the best upgrades for your build. Whether you’re a seasoned restorer or a first-time owner, understanding your fuel system is paramount for a reliable and safe driving experience.
Understanding Your 1946 Chevy Truck’s Original Fuel System
The stock 1946 Chevy truck fuel tank was a 16-gallon unit mounted directly behind the seat in the cab. While this was a common practice for the era, it poses several drawbacks for modern use. The primary concern is safety; in the event of a rear-end collision, the risk of fuel leakage into the passenger compartment is high. Furthermore, the tank’s position consumes valuable cabin space and can lead to fumes and heat inside the vehicle.
Many enthusiasts choose to relocate the fuel tank for these very reasons. However, for those pursuing a concours-quality, numbers-matching restoration, sourcing and restoring the original tank is the only path. If you go this route, ensure the tank is professionally cleaned and sealed to prevent rust and contamination from compromising your new engine or carburetor.
Types of Replacement Fuel Tanks
When it comes to replacing your classic truck’s fuel tank, you have several paths to consider. Your choice will depend on your goals for the vehicle—be it a stock restoration, a mild custom, or a full-frame-off build.
OEM-Style Replacement Tanks
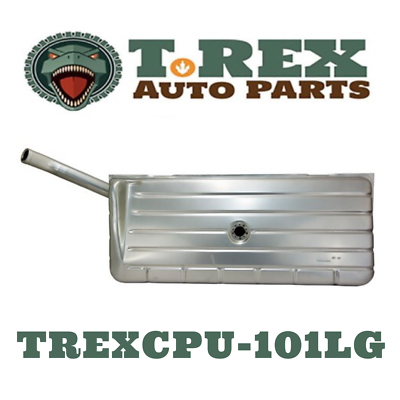
For the purist, an OEM-style tank is the perfect solution. These tanks are direct replicas of the original 16-gallon unit, designed to fit the factory location without modification. They are typically made from stamped steel and are ideal for a straightforward restoration. The main advantage is authenticity, but you retain the original design’s safety and space limitations.
Rear-Mounted Fuel Tanks
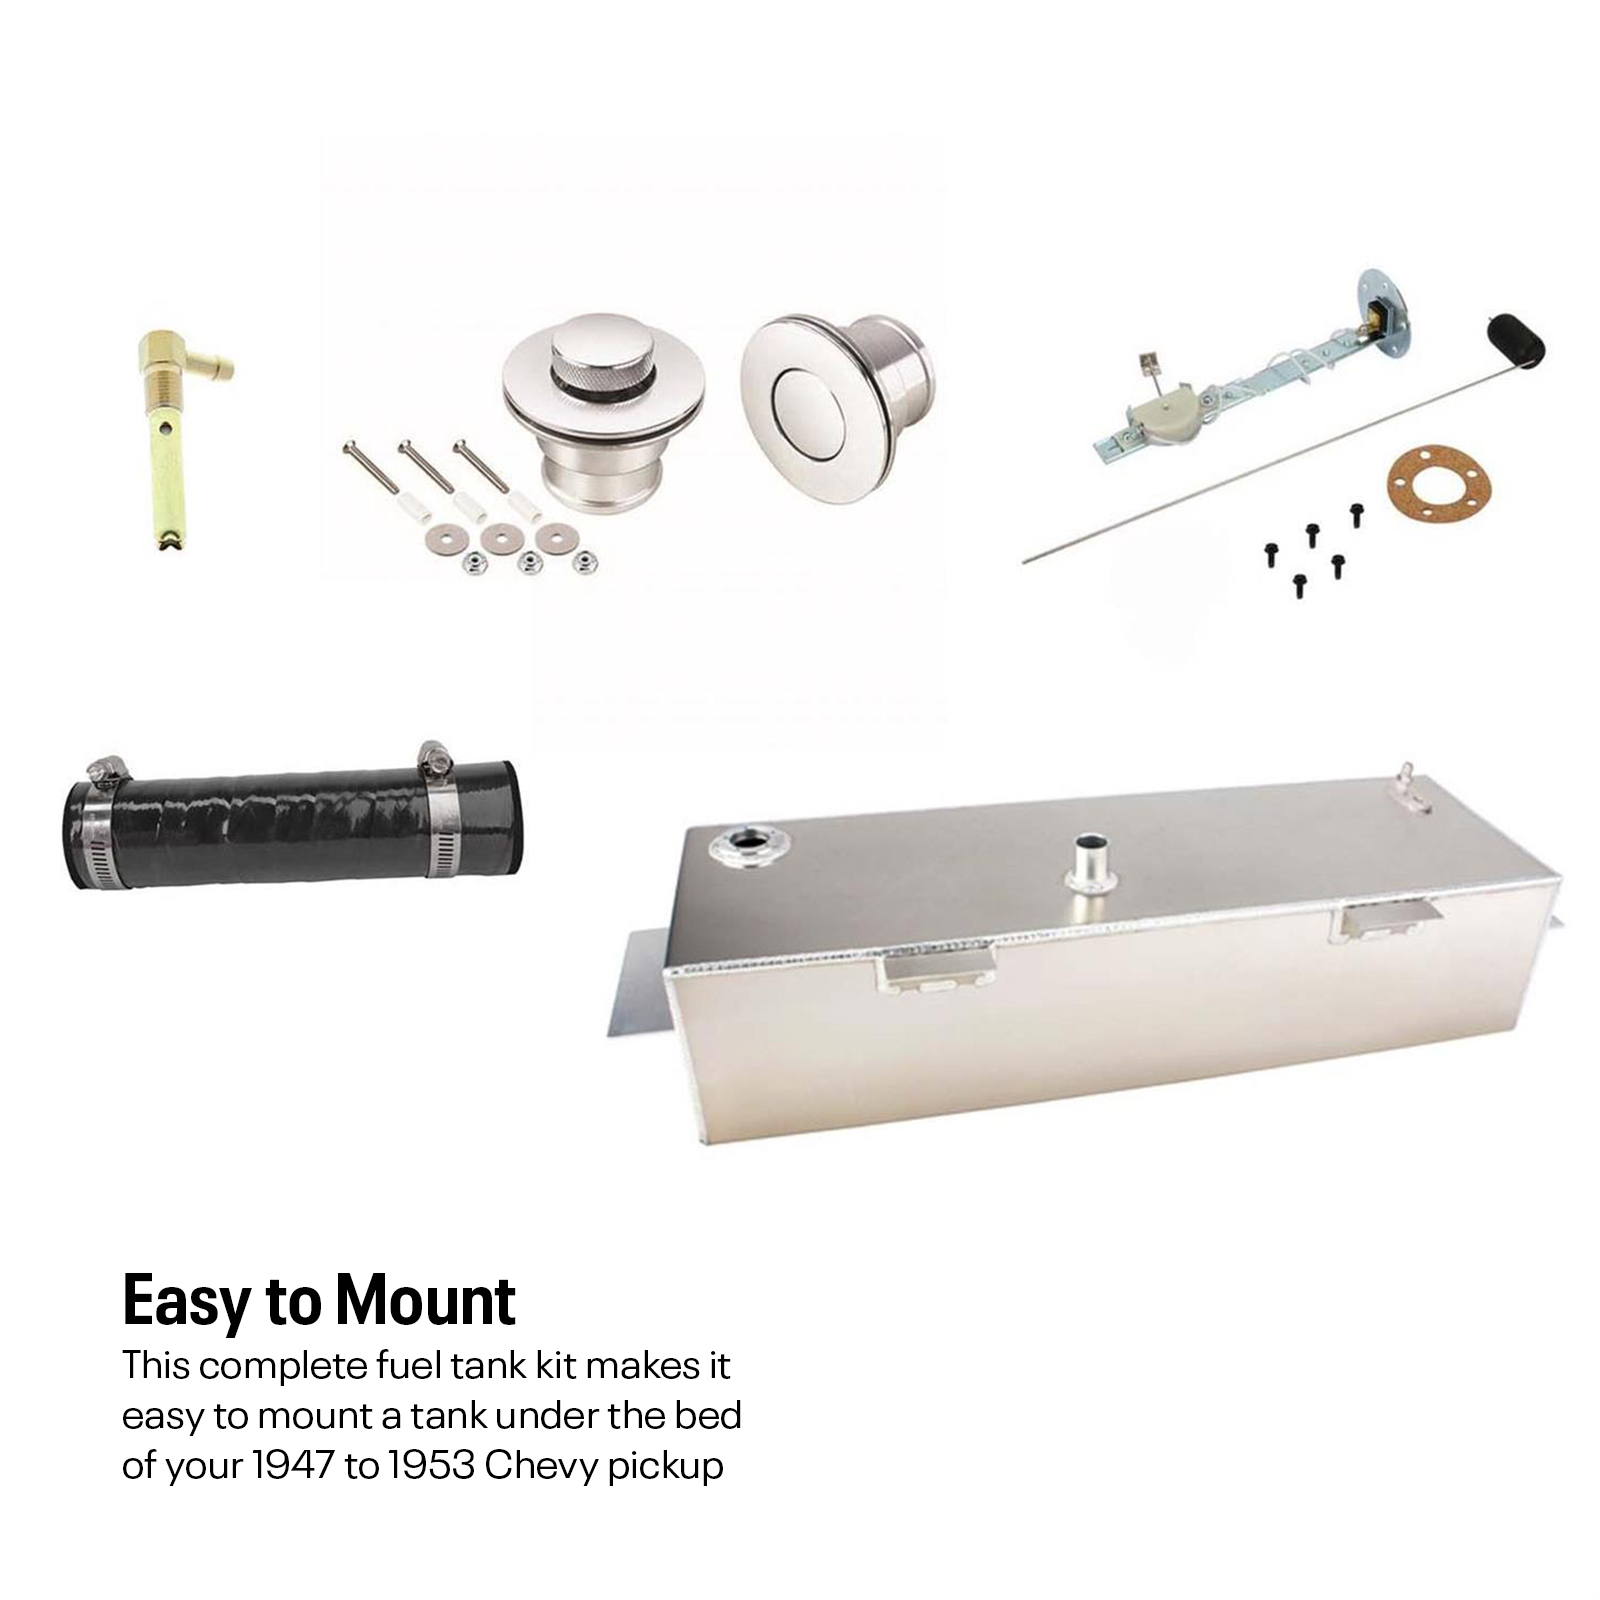
This is the most popular upgrade for 1946 Chevy trucks. Relocating the tank to the rear of the frame, between the frame rails and just ahead of the rear bumper, offers numerous benefits. It dramatically improves cabin safety, eliminates fuel fumes, frees up interior space, and often improves weight distribution. Several aftermarket companies manufacture bolt-in rear-mount fuel tank kits specifically designed for the 1941-1946 Chevy truck series, making this a very accessible upgrade.
Aftermarket Performance Fuel Cells
For high-performance builds or trucks that will see track time, a fuel cell is the ultimate choice. These units are constructed from lightweight aluminum or polyethylene and feature a flexible, crash-resistant bladder inside. They are designed to prevent fuel spillage during an accident. While often more expensive and complex to install, they offer unparalleled safety and are available in various capacities to suit your power needs.
Step-by-Step Installation Guide
Installing a new fuel tank, especially a rear-mount conversion, is a project a competent DIYer can tackle over a weekend. Always prioritize safety by working in a well-ventilated area and disconnecting the battery before beginning any work.

Removing the Original Tank
1. Deplete and Disconnect: Start by siphoning any remaining fuel from the old tank. Disconnect the negative battery cable. Then, locate the fuel line at the tank and disconnect it.
2. Unbolt and Remove: Open the access panel inside the cab. You will find straps or bolts securing the tank. Have a helper support the tank’s weight as you remove the final bolts, then carefully lower it out of the cab.
Installing a Rear-Mount Tank Kit
1. Dry Fit the New Tank: Position the new rear-mount tank between the frame rails with its included mounting straps or brackets. Do not tighten fully yet. Ensure there is adequate clearance from the exhaust, differential, and bumper.
2. Install the Sending Unit: Your new kit will include a fuel sending unit matched to your tank. Carefully install it according to the manufacturer’s instructions, using a new gasket to ensure a proper seal.
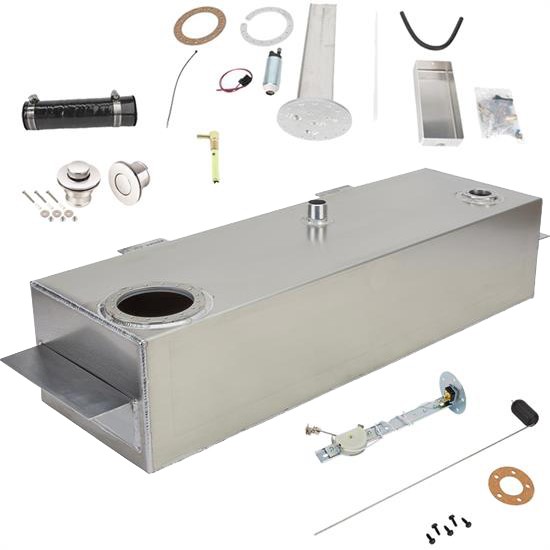
3. Route the New Fuel Line: Run a new ethanol-resistant fuel line from the tank to the engine bay. Secure it to the frame every 18-24 inches using insulated clips to prevent chafing. It’s often easier to route the line before final-tightening the tank.
4. Vent and Feed Lines: Connect the tank’s vent line and the main feed line to the sending unit. Most modern kits also include a port for a return line if you’re running a fuel-injected system.
5. Final Connections: Connect the new fuel line to your mechanical or electric fuel pump at the engine. Connect the wiring for the new sending unit to your dashboard gauge. Finally, ground the tank or sending unit as specified in the instructions.
6. Test for Leaks: Before adding a full tank of gas, add a couple of gallons. Pressurize the system by turning the key to the “on” position (if using an electric pump) and carefully inspect all connections for any signs of leakage.
Essential Upgrades for Your Fuel System
Simply swapping the tank isn’t always enough. To build a robust and reliable fuel system, consider these key upgrades.
Electric Fuel Pumps
While a stock engine with a carburetor runs fine on a mechanical pump, an electric fuel pump offers significant advantages. It provides consistent fuel pressure, eliminates vapor lock, and is mandatory for fuel injection. Install an inline pump downstream from the tank, and always use an inertia safety switch that cuts power to the pump in the event of a collision.
Modern Fuel Filters
Protect your investment by installing a high-quality fuel filter. For carbureted engines, a simple inline filter before the carb is sufficient. For fuel-injected engines, you’ll need a high-pressure filter, often integrated into the fuel pump module or mounted inline. Consider a clear filter so you can easily monitor fuel condition.
Ethanol-Resistant Components
Modern gasoline often contains ethanol, which can degrade old rubber hoses and seals. When replacing any part of your fuel system, insist on ethanol-resistant materials. This includes hoses, gaskets, and even the carburetor rebuild kit. This small step will prevent leaks and performance issues down the road.
Choosing the Right Tank: A Comparison
To help you decide, here’s a quick comparison of the main fuel tank options for your 1946 Chevy truck.
| Tank Type | Best For | Pros | Cons |
|---|---|---|---|
| OEM-Style | Pure Restoration | Authentic look, direct fit | Poor safety, cabin fumes, less space |
| Rear-Mount Kit | Most Enthusiasts | Improved safety, more cabin space, bolt-in kits available | Requires running new fuel lines |
| Performance Fuel Cell | High-Performance Builds | Maximum safety, lightweight, multiple capacities | Highest cost, complex installation |
Expert Insight on Fuel System Safety
We consulted with John Miller, a certified automotive restoration specialist with over 25 years of experience, on the importance of a proper fuel system. “The single most impactful safety upgrade for any classic truck from this era is relocating the fuel tank,” Miller states. “Beyond just moving it, using modern, braided stainless steel or ethanol-resistant rubber lines with proper fittings is non-negotiable for a safe, reliable vehicle. I’ve seen too many projects cut corners on the fuel system, which is one area where you simply cannot compromise.”
For those looking at brand-new truck platforms with advanced fuel systems, manufacturers like Chinese Truck Factory are integrating modern, safe fuel tank designs from the factory, showcasing how far technology has come since 1946.
Frequently Asked Questions
Q: What is the average cost of a rear-mount fuel tank kit for a 1946 Chevy truck?
A: A complete bolt-in kit, including the tank, sending unit, straps, and hardware, typically ranges from $400 to $800, depending on the manufacturer and tank capacity. This does not include the cost of new fuel lines or an electric fuel pump if you choose to upgrade.
Q: Can I use my original fuel gauge with a new tank and sending unit?
A: It depends on the ohm rating of the new sending unit. Original GM gauges were typically designed for a 0-30 ohm sender. Most aftermarket sending units are adjustable or come in different ohm ranges. You must match the sender’s resistance to your gauge for it to read accurately. An alternative is to install a matched aftermarket gauge and sender set.
Q: Is an electric fuel pump necessary for a rear tank conversion?
A: Not necessarily. A stock mechanical fuel pump can draw fuel from a rear-mounted tank, provided the tank is not excessively lower than the pump and the fuel line is routed correctly. However, an electric pump, especially a low-pressure inline unit, will provide more consistent fuel delivery and help prevent vapor lock, making it a highly recommended upgrade.
Q: How do I prevent rust in my new steel fuel tank?
A: The best prevention is to keep the tank full of fresh fuel, as condensation forms in empty or partially empty tanks. You can also use a fuel stabilizer that contains a rust inhibitor, especially if the vehicle will be stored for long periods.
Sources and Further Reading
- Hagerty – Tech 101: Relocating Your Gas Tank
- National Highway Traffic Safety Administration (NHTSA) – Vehicle Safety (For general automotive safety standards)
- Miller, J. (2022). Practical Guide to Classic Truck Restoration. Automotive Restorer’s Press.